 We all know how frustrating and costly a gas leak in your draft beverage system can be. Even the smallest leak can drain an entire CO2 Tank, or Nitrogen tank overnight. Refilling tanks add up to wasted dollars and time spent having to go fill or exchange tanks. If your gas tanks seem to be running out too quickly, we highly recommend you take these steps to resolve this before you spend more and more time and money on wasting gas.
How long should my gas tank last?
This is a hard question to answer because there are a lot of factors that come into play here, with pressures, keg sizes, style of beverage served, etc. But if you are not getting at least a few kegs worth out of a small tank (5LB CO2 or 20cuft NItrogen Tank), then you likely have a leak somewhere and these steps should be taken to identify stop the leak ASAP.
Finding leaks in your draft beverage system
Below you will find a general step-by-step process and watching the below video for finding leaks in a draft beverage system:
Tools and Materials Needed:
- Soapy water solution (water mixed with a small amount of dish soap)
- Spray bottle
- Potential Tools: Wrench, pliers, oetiker clamp tool, screwdrivers (for tightening or fixing connections)
- Flashlight - Always good to have to see in dark spaces or inside refrigerators/kegerators.
Step 1: Prepare the System Ensure that your draft beverage system is pressurized and ready for inspection. Make sure all faucets are closed, and the CO2 or nitrogen supply is turned on.
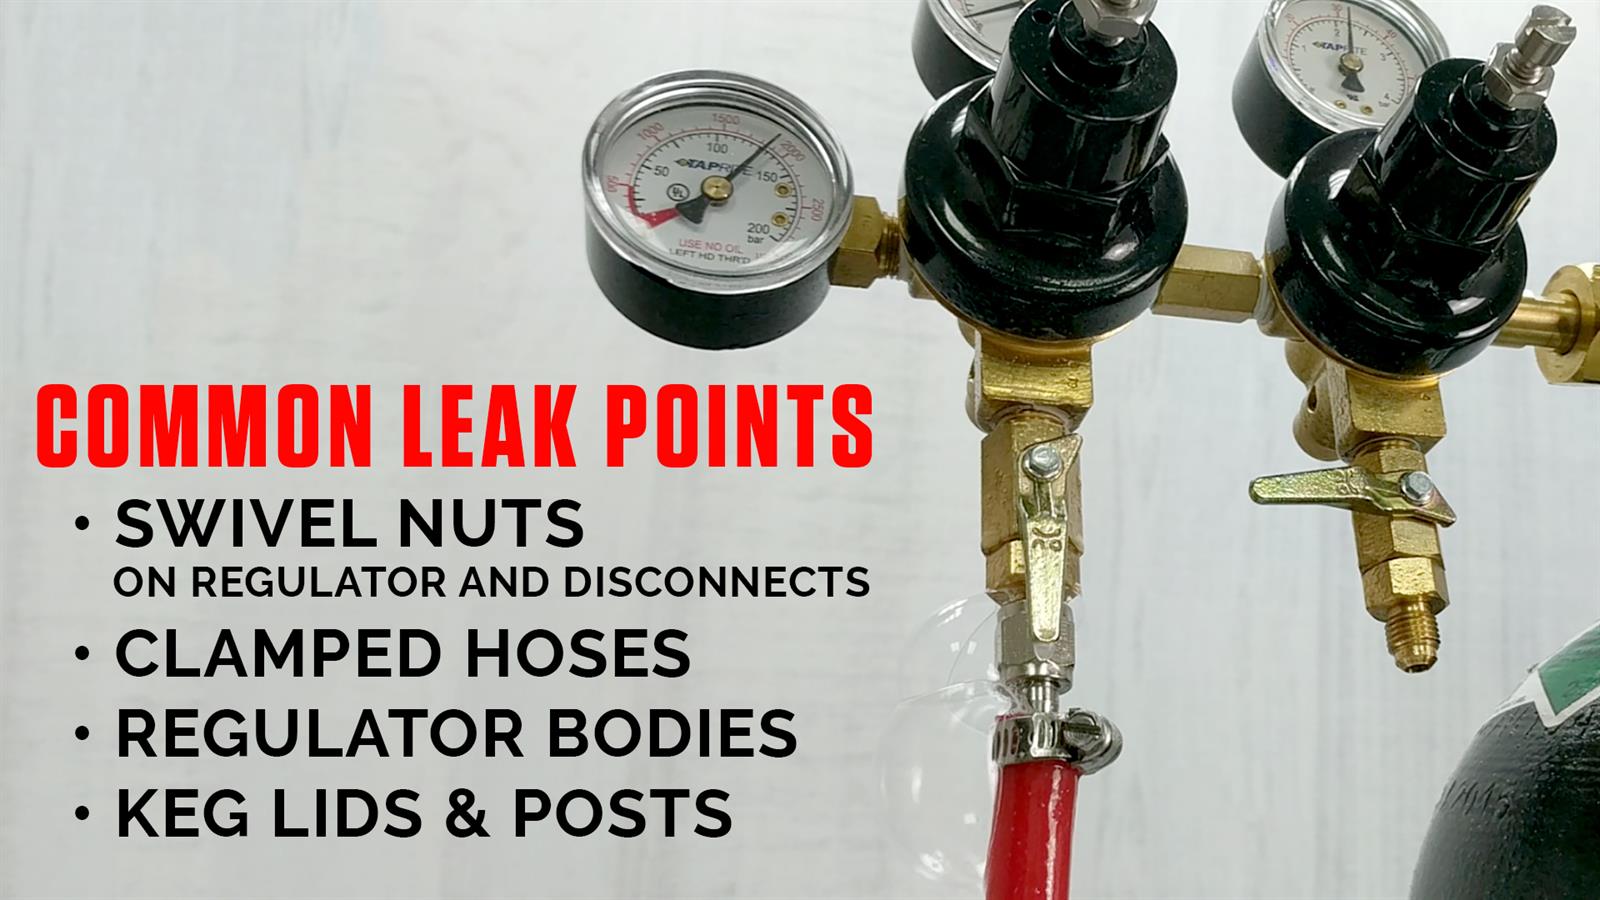
Step 2: Inspect Visible Connections Visually inspect all visible connections, including hoses, couplers, regulators, and faucets. Look for any signs of moisture, drips, or loose connections. Tighten any loose fittings using a wrench or pliers.
Step 3: Check for Audible Hissing Listen for any audible hissing sounds near the components of the system. A hissing sound can indicate a leak in the system. Pay close attention to the regulator, CO2 or nitrogen tank, and keg connections.
Step 4: Spray Soapy Water Fill a spray bottle with a soapy water solution (water with a small amount of dish soap). Liberally spray the soapy water onto all the connections and hoses in your draft system. Ensure thorough coverage.
Step 5: Observe for Bubbles Watch the sprayed areas closely for the formation of bubbles. If there is a leak, the escaping gas will create bubbles in the soapy water. Take your time and check each connection carefully.
Step 6: Focus on Problem Areas If you observe bubbles forming at a specific location, pinpoint the exact source of the leak. It could be a loose connection, a damaged O-ring, or a damaged hose. Address the issue accordingly.
Step 7: Recheck and Retest After addressing any identified leaks, recheck the entire system by spraying soapy water again. This step helps ensure that you've successfully resolved all leaks in the system.
Step 8: Monitor for a Period Sometimes, leaks may only occur intermittently. Leave the system pressurized and under observation for a period to ensure that no new leaks develop.
Step 9: Regular Maintenance To prevent future leaks, establish a routine maintenance schedule for your draft beverage system. Regularly inspect and clean all components, replace worn gaskets and seals, and ensure that all connections are properly tightened.
By following these steps and being diligent in your inspection, you can identify and address leaks in your draft beverage system, ensuring that your beverages are served without any issues or contamination.